Introduction
Get ready to hop into spring with the most adorable and delicious dessert you’ll make all season: Mini Egg Mini Cheesecakes! Imagine the creamy, dreamy texture of classic cheesecake, perfectly portioned into bite-sized delights, and crowned with the iconic crunch and vibrant colors of Cadbury Mini Eggs. These aren’t just cheesecakes; they’re tiny bursts of joy, evoking childhood nostalgia with every sweet, chocolatey bite. Perfect for Easter gatherings, spring brunches, or simply a delightful treat to brighten any day, these mini cheesecakes are guaranteed to be a crowd-pleaser for all ages.
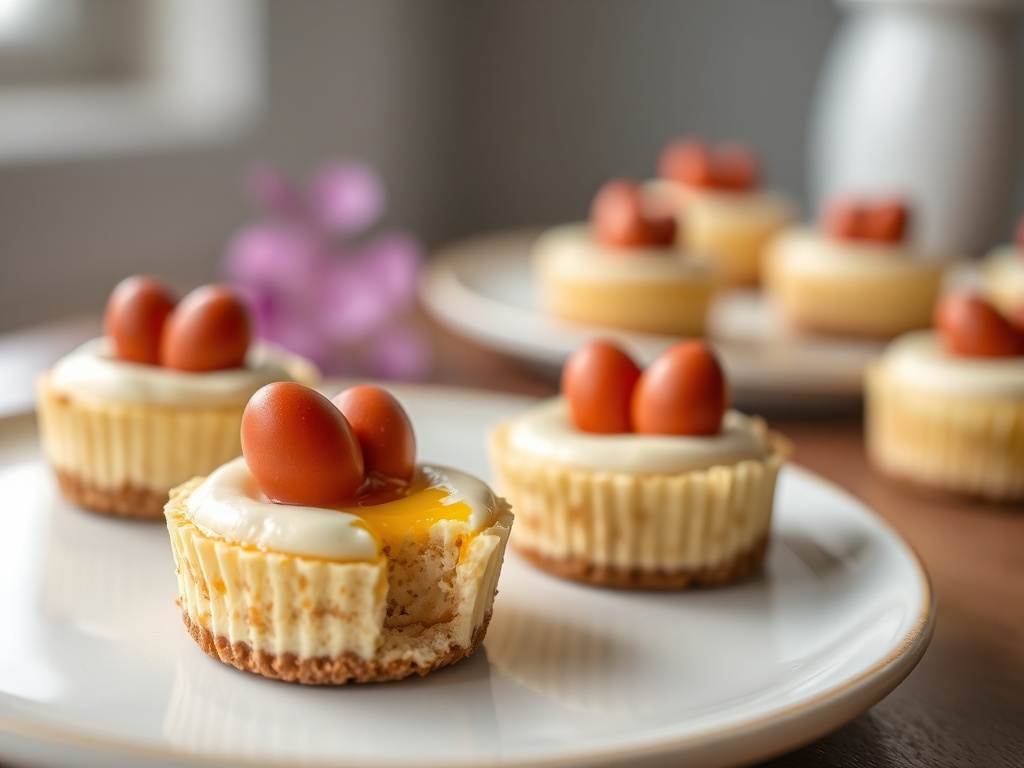
What makes these mini cheesecakes truly special is their irresistible combination of textures and flavors. You’ve got a buttery, crisp graham cracker crust providing the perfect foundation, a silky-smooth, tangy-sweet cream cheese filling that melts in your mouth, and then, the star of the show: those delightful Mini Eggs, offering a satisfying chocolatey crunch. They’re visually stunning, easy to make (especially if you choose the no-bake route!), and offer that perfect individual serving size, making them ideal for entertaining without the fuss of slicing a large cake. Prepare to fall in love with this festive, easy-to-make dessert that tastes as good as it looks!
These Mini Egg Mini Cheesecakes truly embody the spirit of spring – light, fresh, and bursting with color. They’re a fantastic way to celebrate the season or simply indulge in a moment of pure dessert bliss. Whether you’re an experienced baker or just starting out, this recipe is designed for success, promising a delicious outcome that will impress your family and friends. So, gather your ingredients, get ready to whip up some magic, and prepare for endless compliments on these utterly charming and irresistible mini treats!
Nutritional Information
Per serving (approximate values):
- Calories: 280
- Protein: 4g
- Carbohydrates: 25g
- Fat: 19g
- Fiber: 1g
- Sodium: 150mg
Ingredients
- 1 ½ cups graham cracker crumbs (or digestive biscuit crumbs)
- ¼ cup granulated sugar (optional, for crust)
- ½ cup unsalted butter, melted
- 16 oz (2 blocks) full-fat cream cheese, softened
- 1 cup powdered sugar (confectioners’ sugar)
- 1 teaspoon vanilla extract
- 1 tablespoon fresh lemon juice (optional, for brightness)
- 1 ½ cups heavy cream, cold
- 1 ½ cups Cadbury Mini Eggs, divided (1 cup crushed, ½ cup whole)
- Mini muffin tin
- Paper or foil mini muffin liners
Instructions
- Prepare the Crust: In a medium bowl, combine the graham cracker crumbs and optional granulated sugar. Pour in the melted butter and mix until the crumbs are thoroughly moistened and resemble wet sand.
- Line a 24-cup mini muffin tin with paper or foil liners. Distribute the graham cracker mixture evenly among the liners, about 1 tablespoon per liner.
- Using the back of a small spoon or your fingers, firmly press the crust mixture into the bottom of each liner to form a compact base.
- Place the muffin tin in the refrigerator to chill while you prepare the filling, or bake for 5 minutes at 350°F (175°C) for a slightly crispier crust, then let cool completely.
- Prepare the Cheesecake Filling: In a large mixing bowl, using an electric mixer (handheld or stand mixer with a paddle attachment), beat the softened cream cheese on medium speed until completely smooth and free of lumps, about 2-3 minutes. It’s crucial that the cream cheese is well-softened to achieve a smooth filling.
- Gradually add the powdered sugar to the cream cheese, beating on low speed until fully incorporated and smooth. Scrape down the sides of the bowl as needed.
- Beat in the vanilla extract and optional lemon juice until just combined.
- In a separate, chilled large bowl, pour the cold heavy cream. Using an electric mixer with a whisk attachment, beat the heavy cream on medium-high speed until stiff peaks form. Be careful not to overbeat, or it will turn grainy.
- Gently fold the whipped cream into the cream cheese mixture using a rubber spatula. Fold until just combined, being careful not to deflate the whipped cream. Overmixing at this stage can make the filling less airy.
- Assemble the Mini Cheesecakes: Spoon or pipe the cheesecake filling into the prepared crusts in the mini muffin liners. Fill each liner almost to the top.
- Gently tap the muffin tin on the counter a few times to release any air bubbles and help settle the filling, creating a smoother top.
- Chill Thoroughly: Place the muffin tin in the refrigerator and chill the mini cheesecakes for a minimum of 2-4 hours, or ideally overnight, until they are completely set and firm. This is a critical step for the cheesecakes to hold their shape.
- Decorate and Serve: Once the mini cheesecakes are fully set, carefully remove them from the muffin tin and peel off the liners.
- Before serving, top each mini cheesecake with a sprinkle of crushed Mini Eggs and a few whole Mini Eggs.
- Serve chilled. If desired, you can add a dollop of fresh whipped cream or a drizzle of melted chocolate for extra indulgence.
Cooking Tips and Variations
For the best results with your Mini Egg Mini Cheesecakes, ensure your cream cheese is at room temperature – this is perhaps the most important tip for a silky-smooth, lump-free filling. Simply leave it out on the counter for at least an hour before you plan to bake. When folding the whipped cream into the cream cheese mixture, be gentle and use a spatula to preserve the airiness of the filling; overmixing can make it dense. Another crucial step is the chilling time; do not rush it! A minimum of 2-4 hours is essential for the cheesecakes to set properly and hold their shape, but overnight chilling yields the best firm texture. For crushing Mini Eggs, place them in a sturdy freezer bag and gently smash them with a rolling pin or the flat side of a meat tenderizer. You want varied textures, from fine crumbs to small pieces, not a powder.
If you’re looking to experiment, consider variations to customize these delightful treats. For a different crust, try using crushed Oreo cookies (with their cream filling) for a chocolatey base, or shortbread cookies for a buttery, crumbly alternative. You can also add a hint of citrus zest to the cheesecake filling – a teaspoon of orange or lime zest would beautifully complement the chocolate and cream cheese. For an extra layer of flavor, fold in ¼ cup of mini white chocolate chips into the cheesecake batter before chilling. Instead of just Mini Eggs, you could also experiment with other Easter candies like jelly beans or chocolate bunnies (chopped) for decoration. For a more decadent finish, drizzle melted white or dark chocolate over the tops before adding the Mini Eggs. These cheesecakes are also excellent for making ahead; they can be stored in an airtight container in the refrigerator for up to 3-5 days, making them perfect for party prep!
Storage and Reheating
These Mini Egg Mini Cheesecakes are best enjoyed chilled. Store any leftover cheesecakes in an airtight container in the refrigerator for up to 3-5 days. It’s best to add the Mini Egg toppings just before serving to maintain their crunch and vibrant color, especially if you’re making them several days in advance. If you’ve already topped them, they will still be delicious, but the Mini Eggs might soften slightly over time due to moisture.
These mini cheesecakes are also freezer-friendly, which is great for meal prepping or having a quick dessert on hand. To freeze, place the undecorated cheesecakes (without Mini Eggs or whipped cream) on a baking sheet and freeze until solid, about 1-2 hours. Once firm, transfer them to an airtight freezer-safe container or a heavy-duty freezer bag, separating layers with parchment paper to prevent sticking. They can be stored in the freezer for up to 1 month. To serve, simply transfer the desired number of frozen cheesecakes to the refrigerator and let them thaw for several hours or overnight. Once thawed, add your crushed and whole Mini Eggs and any other desired toppings, and serve chilled. Reheating is not recommended for cheesecake as it will alter the texture and consistency; these are meant to be enjoyed cold.
Frequently Asked Questions
Can I make these Mini Egg Mini Cheesecakes without an electric mixer?
While an electric mixer makes the process much easier and ensures a super smooth, airy filling, you can technically make these by hand. You’ll need to beat the cream cheese thoroughly with a whisk until it’s completely smooth and lump-free. For the whipped cream, you’ll need strong arms and a good whisk to get it to stiff peaks. Just be prepared for a bit of an arm workout!
Why did my cheesecake filling turn out runny or not set?
There are a few common reasons for a runny filling. The most likely culprit is not chilling the cheesecakes long enough. Cheesecake needs ample time in the refrigerator (at least 2-4 hours, ideally overnight) to properly set. Another reason could be overmixing the cream cheese mixture after adding the whipped cream, which can deflate the air and reduce its setting power. Lastly, ensure your heavy cream was very cold before whipping, as cold cream whips up more effectively and creates a more stable structure.
Can I use a different type of cookie for the crust?
Absolutely! While graham crackers are classic, you can easily substitute them with other cookies. Oreo cookies (crushed with their cream filling) make a delicious chocolatey crust. Digestive biscuits are a popular choice, especially outside of North America. Shortbread cookies or even vanilla wafers would also work wonderfully. Just make sure to adjust the amount of melted butter if needed, as some cookies absorb more or less liquid.