Sweet Surrender: The Irresistible Charm of Upside Down Strawberry Cake
Introduction
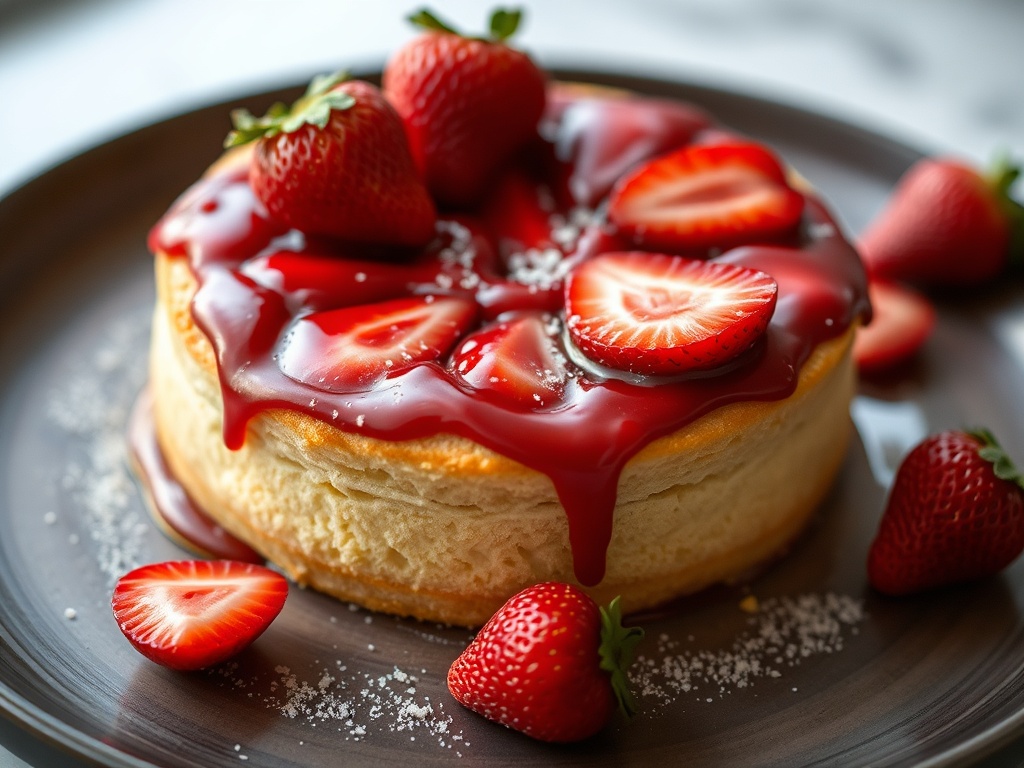
Imagine a dessert that captures the very essence of summer in every bite: vibrant, sweet, and bursting with fresh fruit flavor. That’s precisely what you get with our Upside Down Strawberry Cake. This culinary marvel starts with a luscious layer of perfectly ripe, crimson strawberries nestled at the bottom of the pan, which then transforms into a beautifully caramelized topping when flipped. The aroma alone, a heavenly blend of sweet berries and warm vanilla, is enough to draw everyone to the kitchen, promising a delightful treat that looks as good as it tastes.
The concept of “upside down” baking has charmed bakers for generations, offering a simple yet incredibly effective way to create stunning desserts with minimal fuss. Historically, these cakes were a clever way to utilize seasonal fruits, turning them into a show-stopping centerpiece. Our strawberry rendition elevates this classic, making it a fresh and modern favorite. It’s not just a cake; it’s an experience, a celebration of peak-season strawberries, ensuring each slice delivers a juicy, tender, and subtly sweet counterpoint to the moist, buttery cake.
This recipe is an absolute must-try for anyone who appreciates fresh flavors and beautiful presentation. Whether you’re hosting a summer brunch, looking for the perfect dessert to cap off a family dinner, or simply craving a special treat, this Upside Down Strawberry Cake fits every occasion. It’s surprisingly easy to make, yet yields impressive results, making you look like a seasoned pastry chef. Get ready to embrace the magic of the flip and surrender to the irresistible charm of this summer’s delight.
Nutritional Information
Per serving (approximate values):
- Calories: 395
- Protein: 5g
- Carbohydrates: 58g
- Fat: 17g
- Fiber: 2g
- Sodium: 290mg
Ingredients
For the Topping:
- 1 pound (approx. 3 cups) fresh strawberries, hulled and sliced 1/4-inch thick
- 1/4 cup (4 tablespoons) unsalted butter, melted
- 1/2 cup packed light brown sugar
- 1/2 teaspoon vanilla extract (optional, but recommended)
For the Cake Batter:
- 1 1/2 cups all-purpose flour, sifted
- 1 teaspoon baking powder
- 1/2 teaspoon salt
- 1/2 cup (1 stick) unsalted butter, softened
- 1 cup granulated sugar
- 2 large eggs, room temperature
- 1 teaspoon vanilla extract
- 1/2 cup milk (whole or 2%), room temperature
Instructions
- Preheat Oven and Prepare Pan: Preheat your oven to 350°F (175°C). Grease a 9-inch round cake pan thoroughly with butter or cooking spray. If using a regular cake pan (not springform), line the bottom with a circle of parchment paper for easier release, then grease the parchment as well.
- Prepare the Strawberry Topping: In a small bowl, combine the melted butter, brown sugar, and optional vanilla extract. Pour this mixture into the bottom of the prepared cake pan, spreading it evenly.
- Arrange Strawberries: Arrange the sliced strawberries in a single layer over the brown sugar mixture in an attractive pattern. You can create concentric circles or simply overlap them slightly. Try to cover the entire bottom of the pan as much as possible.
- Combine Dry Ingredients: In a medium bowl, whisk together the sifted all-purpose flour, baking powder, and salt. Set aside.
- Cream Butter and Sugar: In a large bowl, using an electric mixer (stand or hand-held), cream together the softened butter and granulated sugar on medium speed until light, fluffy, and pale in color, about 3-5 minutes. Scrape down the sides of the bowl as needed.
- Add Eggs and Vanilla: Beat in the eggs one at a time, mixing well after each addition until fully incorporated. Stir in the vanilla extract. The mixture may look slightly curdled at this stage, but it will come together with the dry ingredients.
- Alternate Dry and Wet Ingredients: With the mixer on low speed, gradually add the dry ingredients to the butter mixture in three additions, alternating with the milk in two additions. Begin and end with the dry ingredients. Mix until just combined and no streaks of flour remain. Be careful not to overmix, as this can lead to a tough cake.
- Assemble the Cake: Carefully spoon the cake batter over the arranged strawberries in the pan. Gently spread the batter evenly to cover all the strawberries, taking care not to disturb their arrangement too much.
- Bake the Cake: Place the cake pan on a baking sheet (to catch any potential drips, especially if using a springform pan). Bake for 40-50 minutes, or until a wooden skewer or toothpick inserted into the center of the cake comes out clean. The cake should be golden brown and the edges may start to pull away slightly from the pan.
- Cool and Invert: Once baked, remove the cake from the oven and let it cool in the pan on a wire rack for exactly 10-15 minutes. This cooling period is crucial for the topping to set but still remain fluid enough to release easily.
- Invert the Cake: After 10-15 minutes, place your serving plate (one with a slight rim is ideal for catching any juices) upside down over the cake pan. Carefully but confidently, flip the cake pan and plate together. Lift the cake pan off. If you used parchment paper, gently peel it off the topping. If any strawberries stick, carefully re-place them on the cake.
- Serve: Allow the cake to cool for another 15-20 minutes before slicing and serving. It’s delicious served warm or at room temperature, perhaps with a dollop of whipped cream or a scoop of vanilla ice cream.
Cooking Tips and Variations
Achieving a perfect Upside Down Strawberry Cake is all about attention to a few key details and not being afraid to experiment with flavors. Here are some tips and variations to elevate your baking:
Strawberry Selection: The quality of your strawberries truly makes a difference. Choose bright red, fragrant berries that are firm to the touch and free of blemishes. While ripe, avoid overly soft or mushy strawberries, as they can release too much water and make the topping soggy. If using frozen strawberries in a pinch, thaw them completely and drain them very well, patting them dry with paper towels to remove excess moisture. This helps prevent a watery topping.
Pan Preparation is Key: Proper greasing and lining are paramount for a clean release. Even with a good non-stick pan, an extra layer of butter and flour (or parchment paper for the bottom) ensures your beautiful topping isn’t left behind. For regular cake pans, cutting a circle of parchment paper for the bottom and greasing the sides thoroughly is highly recommended. For springform pans, ensure the seal is tight to prevent any butter/sugar mixture from leaking out during baking.
Doneness Test: Beyond the toothpick test, pay attention to the cake’s appearance. The top should be golden brown, and the edges will often start to pull away slightly from the sides of the pan. Gently pressing the center of the cake should yield a slight spring-back. If it feels too soft or jiggly, it needs a few more minutes.
The Inversion Technique: This is often the most nerve-wracking part, but it doesn’t have to be! The timing of the inversion is critical. Inverting the cake while it’s still warm (after 10-15 minutes of cooling) allows the caramelized topping to be fluid enough to release easily from the pan. If you wait too long, the sugar can harden and stick. Place your serving plate over the cake pan, use oven mitts to firmly grasp both, and with a quick, confident motion, flip them together. Leave the pan on for another 5-10 minutes after flipping; this allows gravity to help the topping settle perfectly onto the cake and ensures any remaining sticky bits release.
Flavor Boosts & Enhancements:
- Spice it Up: For a subtle warmth, add a pinch of ground cinnamon, cardamom, or even a tiny dash of black pepper to the brown sugar topping mixture. These spices beautifully complement the sweetness of the strawberries.
- Citrus Zest: Incorporate 1-2 teaspoons of fresh lemon or orange zest into the cake batter. Citrus brightens the flavor profile and adds a lovely aromatic note that pairs wonderfully with strawberries.
- Nutty Crunch: Before arranging the strawberries, sprinkle a thin layer of finely chopped pecans, walnuts, or almonds over the melted butter and brown sugar. These add a delightful textural contrast and nutty flavor.
- Buttermilk Substitute: For an even more tender and moist cake, substitute the regular milk in the batter with buttermilk. Reduce the baking powder by 1/4 teaspoon if using buttermilk, as buttermilk reacts with baking soda (which is not in this recipe, but good to know for future variations).
- Almond Extract: A small amount (1/4 to 1/2 teaspoon) of almond extract in the cake batter can add a sophisticated depth of flavor that complements strawberries beautifully.
Serving Suggestions: While the cake is magnificent on its own, a simple accompaniment can elevate it further. A dollop of freshly whipped cream, a scoop of good quality vanilla bean ice cream, a dusting of powdered sugar, or even a light drizzle of balsamic glaze (which oddly pairs wonderfully with strawberries) can make it extra special.
Troubleshooting Common Issues:
- Cake Sticking: This is almost always due to insufficient greasing/flouring of the pan or inverting the cake when it’s too cold. Ensure generous preparation of the pan and adhere to the 10-15 minute cooling window before flipping.
- Soggy Topping: Overly ripe or watery fruit is the main culprit here. If your strawberries are very juicy, consider gently patting them dry with paper towels before arranging them. Also, ensure your cake is baked through, as an underbaked cake can contribute to a wet topping.
- Uneven Fruit Distribution: Take your time arranging the strawberries. If they are piled too high in the center, they might shift or create a less stable base for the batter. A relatively even layer works best.
By keeping these tips in mind, you’ll be well on your way to baking a truly spectacular Upside Down Strawberry Cake every time!
Storage and Reheating
Proper storage is essential to keep your Upside Down Strawberry Cake fresh and delicious, while also ensuring the integrity of its beautiful topping.
Room Temperature Storage: For the first 1-2 days, this cake can be stored at room temperature, provided your kitchen isn’t excessively warm or humid. It’s best to keep it loosely covered with foil or an overturned bowl to protect it from drying out. Avoid airtight containers, as they can sometimes create too much condensation, making the topping sticky or soggy.
Refrigeration: If you need to store the cake longer, or if your kitchen is warm, refrigerate it. Place the cake in an airtight container or cover it tightly with plastic wrap and then foil. It will keep well in the refrigerator for up to 4 days. Before serving, it’s highly recommended to bring the cake back to room temperature. The flavors and texture are significantly enhanced when not served cold directly from the fridge. Simply remove it from the refrigerator about 1-2 hours before you plan to serve.
Freezing: Unfrosted (which this cake inherently is) Upside Down Strawberry Cake freezes beautifully. To freeze, ensure the cake is completely cooled to room temperature. Once cool, wrap the entire cake (or individual slices) tightly in plastic wrap, ensuring no air pockets. Then, wrap it again in aluminum foil. This double layer of protection helps prevent freezer burn. Label with the date. The cake can be frozen for up to 2-3 months.
Thawing Frozen Cake: To thaw, simply transfer the wrapped cake from the freezer to the refrigerator and let it thaw overnight. Once thawed, bring it to room temperature before serving for the best flavor and texture. You can also gently warm individual slices in the microwave for 15-30 seconds if you prefer a warm slice.
Reheating: If you’d like to serve the cake warm, especially if it’s been refrigerated, you can gently reheat individual slices in the microwave for 15-30 seconds, or in a preheated oven at 250°F (120°C) for about 5-10 minutes, until just warmed through. Be careful not to overheat, as this can dry out the cake.
Frequently Asked Questions
What kind of cake pan is best for an Upside Down Strawberry Cake?
A 9-inch round cake pan is ideal for this recipe. While a regular cake pan works perfectly, a springform pan can make the inversion process slightly easier, as you don’t have to worry about the sides. If using a regular pan, make sure to grease and flour it very well, and consider lining the bottom with parchment paper for extra insurance against sticking. Always ensure your pan is leak-proof if using a springform, especially with the buttery topping.
Can I use other fruits for this recipe?
Absolutely! The beauty of upside down cakes is their versatility with fruit. While strawberries are fantastic, you can easily adapt this recipe to other fruits like sliced peaches, pineapple rings, apple slices, plums, or even mixed berries. Just ensure the fruit is ripe but firm enough to hold its shape during baking and won’t release excessive moisture. Adjust the amount of brown sugar in the topping slightly based on the sweetness of your chosen fruit.
My cake stuck to the pan when I tried to invert it. What went wrong?
Cake sticking is a common issue and usually comes down to one of two things: insufficient pan preparation or incorrect inversion timing. Ensure you generously grease and flour your pan (or use parchment paper on the bottom). The other critical factor is inverting the cake while it’s still warm, but not piping hot. Waiting 10-15 minutes after baking allows the caramelized topping to set just enough to hold its shape but remain pliable enough to release from the pan. If you wait too long, the sugar can harden and glue the cake to the pan. If it does stick, don’t panic! Carefully try to scrape any stuck fruit/topping from the pan and place it back onto the cake.